
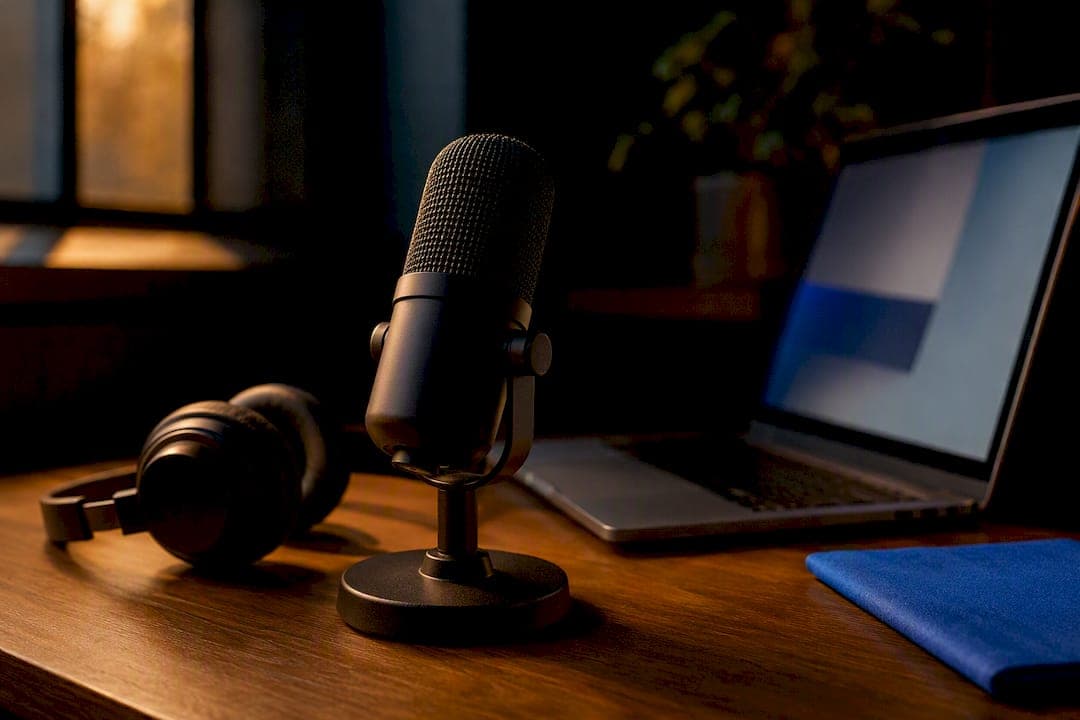
To record effective online lessons, plan a single learning outcome per clip and put clear audio ahead of polish. Choose a recording style, talking head, screen recording, or hybrid, that matches what you're teaching. A good lesson runs short, ends in a usable transcript, and leaves the student able to do one new thing.
TL;DR:
- Prioritize good audio quality by investing in a microphone over a camera, as clear sound significantly impacts student satisfaction.
- Record modular, short lessons focused on one outcome, ideally under 12 minutes, to simplify editing and enhance rewatchability.
- Use a simple, quiet space with soft furnishings, proper framing, and natural lighting to create a professional-looking recording environment without high costs.
- Choose recording tools based on your workflow, with 1080p resolution, 30fps, and separate audio tracks, and perform technical checks before each session.
- Focus on clarity and a single learning objective in each lesson rather than editing for polish, as authentic, concise content outperforms overly curated videos.
Table of Contents
- How to record online lessons: choosing the right style
- Why audio quality matters more than your camera
- Setting up your recording space for a professional look
- Which screen recording tools and settings actually work?
- The five-point method for structuring a lesson
- Your pre-recording checklist and workflow
- Editing, captions and where to host your recordings
- What the research actually says about producing better lessons
- What educators get wrong about production quality
- Pairing your recorded lessons with live tutoring
- Where to go for deeper reading
- Sources
How to record online lessons: choosing the right style
The style you choose should follow your learning goal, not the other way around. Educational technologists at Ohio State University put this plainly: pedagogy comes first, and the format serves the outcome, never the reverse. Once you know what you want a student to be able to do by the end of the clip, the style usually picks itself.
The three main recording styles each suit a different kind of teaching moment:
- Talking head. You, on camera, explaining a concept. Works well for grammar rules, cultural context, or anything where the student needs to read your expression and hear your emphasis.
- Screen recording. Your screen, with or without your voice over it. Ideal for software demos, walking through a worksheet, or annotating a text line by line.
- Hybrid. A mix of both, often your face in a corner while you share a document or slide. Good for lessons that move between explanation and demonstration, such as correcting a student's written work on screen while talking through your reasoning.
Chunk your content around one outcome per clip rather than one topic per clip. A lesson titled "Past Tense" might need four short recordings, one for regular verbs, one for irregulars, one for common mistakes, one for practice sentences, instead of a single fifteen-minute block covering all four. Shorter, single-purpose clips are easier to re-record when something changes, and easier for a student to rewatch when they only need the part on irregulars.
Why audio quality matters more than your camera
Spend your first dollar on a microphone, not a webcam. Guidance from University of Colorado's IT department is direct on this point: at home, audio and lighting quality affect learner satisfaction more than camera specs do. A student will forgive a soft-focus picture. They won't forgive audio that crackles, echoes, or drops out halfway through a sentence.
Microphone options by budget:
- Free to $30: your phone's earbuds with an inline mic, held or clipped 15 to 20 centimetres from your mouth.
- $50 to $100: a USB condenser microphone on a small desk stand, positioned just off to the side of your mouth to avoid breath pops.
- $150 and up: a dynamic microphone with an audio interface, which rejects room noise better if you're recording in a shared house or apartment.
Camera choices matter less, but they still shape how professional a lesson feels. A smartphone propped on a stand at eye level beats a laptop's built-in camera every time, because the angle avoids the "looking down at you" effect. A basic USB webcam sits in the middle ground, and a mirrorless camera with a clean HDMI output is worth it only once you're recording several lessons a week and want the shallow depth of field.
Lighting doesn't need a budget at all. Face a window during daylight hours, with the light coming from in front of you rather than behind. You'll outperform most ring lights bought in a hurry. If you record for a cloud platform, connect your computer to the router with an ethernet cable rather than relying on WiFi. A wired connection avoids the stutters and freezes that ruin an otherwise clean take.
Pro Tip: Record a 10-second test clip and play it back through headphones, not your laptop speakers. Room echo and mic hiss are far easier to hear through headphones than through built-in speakers.
Setting up your recording space for a professional look
You don't need a studio. You need a room that doesn't sound like one either, in the acoustic sense. Hard, empty rooms bounce sound around and make your voice echo, which is the fastest way to make a lesson sound amateur even with a good microphone.
A few fixes cost nothing or close to it:
- Record in a smaller room with soft furnishings, a rug, curtains, or even a bed nearby absorbs sound far better than a bare office.
- Hang a blanket or towel behind you if the room is echoey and you can't change locations.
- Choose a background that's simple and a little personal, a bookshelf, a plain wall, a plant, rather than a cluttered desk or an unmade bed.
- If your software supports it, a blurred or virtual background hides mess quickly, though it can look artificial under poor lighting.
Framing affects engagement more than most educators expect. Position your camera at eye level, not below your chin or above your head, and look directly into the lens rather than at a second monitor when you're speaking to camera. That small habit of looking into the lens rather than at your notes is what makes a recorded lesson feel like a conversation rather than a lecture. Leave a little space above your head in the frame and keep your shoulders roughly a third of the way up from the bottom of the screen. It's a small compositional habit that borrows from television presenting, and it reads as intentional rather than accidental.
Which screen recording tools and settings actually work?
Screen recording tools fall into three broad categories, and picking the right one saves you a lot of frustration later. Browser-based recorders are the simplest option for quick, single-take demos. Platform-integrated tools, the record button inside Zoom or a similar meeting app, are convenient when you're already teaching live and want to capture the session as you go. Advanced local software, such as OBS, gives you the most control, including separate audio tracks, but comes with a steeper learning curve.
Each category suits a different workflow, as Ohio State's recording guide notes when comparing options like StreamYard's record-only mode against Zoom's cloud capture, which some institutions auto-delete under retention policies.
Whichever tool you use, a few settings decisions make a real difference:
- Resolution: 1080p is the practical sweet spot, sharp enough for text on screen without bloating file size.
- Frame rate: 30fps is fine for talking head and slides; bump to 60fps only if you're demonstrating fast on-screen movement.
- Cursor highlighting: turn it on so students can follow your mouse during a demo without squinting.
- Separate audio tracks: where the tool allows it, record your microphone and system audio on separate tracks, which makes cleaning up background noise in editing far easier, a habit professional recorders rely on for exactly this reason.
Before you hit record, close any tab with sensitive information, mute desktop notifications, and play a short sound to confirm your system audio is actually being captured. Skipping that last check is how educators discover, twenty minutes in, that the recording has no sound at all.
The five-point method for structuring a lesson
A repeatable structure beats winging it every time, and it makes your lessons easier to update later. The five-point method, described in StreamYard's guide to recording online classes, gives each clip a consistent shape:
- State the learning outcome. Tell the student, in one sentence, what they'll be able to do by the end. "By the end of this clip, you'll be able to conjugate regular French verbs in the present tense."
- Teach the concept. Explain the rule or idea clearly, without detours.
- Demonstrate it. Show the concept in action, a worked example, a sentence built live, a document annotated on screen.
- Summarise. Restate the outcome in one or two sentences so it sticks.
- Give an action step. Set a small task, three sentences to translate, one exercise to complete, before the next lesson.
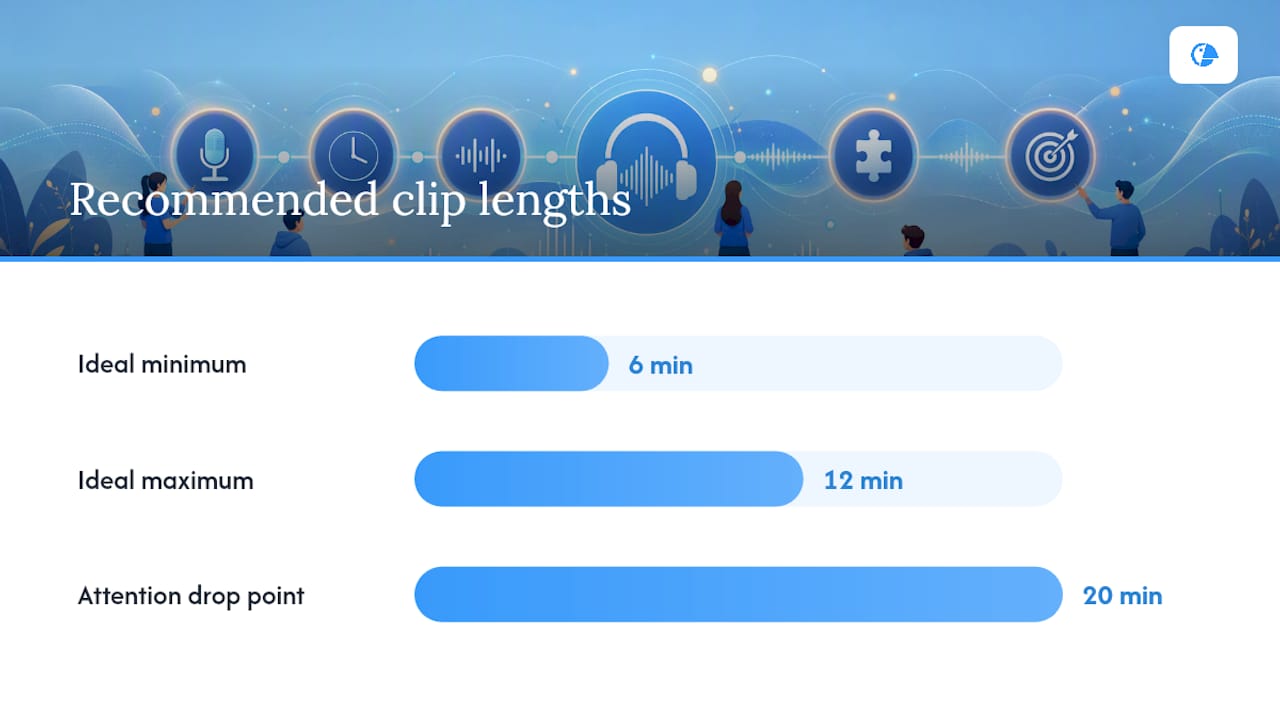
Length matters here too. Aim for 6 to 12 minutes per clip for most topics, and split anything longer into separate modules rather than stretching a single recording past 20 minutes. Attention drops off sharply after that point, and a modular lesson is far simpler to fix later if one section needs updating.
Add chapter markers at each of the five stages if your platform supports them, so students can jump straight to the demonstration or the action step on a rewatch. A short comprehension check, even just a single written question at the end of the summary, gives you a signal of whether the lesson landed before the student moves on.
Your pre-recording checklist and workflow
A little preparation removes most of the reasons you'd need to record something twice. Before you start, write a one-page outline of your five points, mute every notification on your device, have water within reach, and confirm your laptop is either fully charged or plugged in.
Run through a short technical check every time:
- Record a 10 to 20 second test clip and play it back, checking for clear audio and correct framing, a habit recommended in New Zenler's recording setup guide.
- Watch your audio levels while speaking at normal volume, they should peak without hitting the red.
- If you're recording to the cloud, run a quick network check to confirm your connection is stable before committing to a full take.
Once you've recorded, the finishing steps matter almost as much as the take itself. Name your files with a consistent pattern, something like course-unit-lesson-version-date, so you're never guessing which file is the latest edit six months later. Back the raw footage up to cloud storage immediately, before you do anything else, so a corrupted local drive doesn't cost you the whole session.
Pro Tip: Keep your edit passes minimal on the first few lessons you record. Trim the obvious mistakes and dead air, then publish. Chasing a perfect edit before you've built the habit of recording regularly is the single biggest reason educators abandon the project.
When exporting, H.264 in an MP4 container is the standard choice for near-universal playback with a reasonable file size. If storage is tight, a moderate compression setting rarely costs you visible quality on a lesson that's mostly talking head or slides.
Editing, captions and where to host your recordings
The editing that actually moves the needle is short. Trim dead air at the start and end, normalise your audio so volume is consistent across the clip, and drop in chapter markers at your five key points. Beyond that, most educators are better off spending the saved time recording another lesson than perfecting the one they've already got.
Automated transcription tools generate a rough transcript quickly, but always check it against what you actually said before publishing. Once corrected, that transcript becomes searchable text, letting a student find the exact moment you explained the subjunctive rather than scrubbing through the whole video. As Vanderbilt's Centre for Teaching points out, captions aren't a nice extra, they're a core accessibility requirement, and the same corrected transcript gives you captions with almost no extra work.
Where you host the finished lesson depends on how you're using it:
- A learning management system suits structured courses where progress tracking matters.
- A private host (password-protected video hosting) works well for one-to-one or small-group tutoring material you don't want publicly indexed.
- A public platform extends your reach but means giving up control over who watches and how long the content stays retrievable.
Whichever you choose, decide on a retention policy upfront, how long a recording stays live and who can access it, rather than leaving it as an afterthought once students start asking.
What the research actually says about producing better lessons
Storing recordings modularly, per lesson or even per slide, isn't just tidier housekeeping. It's the difference between a five-minute fix and a full re-record when a syllabus changes, a point echoed in Leadde's guide to making video lectures. One learning outcome per clip, applied consistently, turns your course library into something you can patch rather than rebuild.
The searchability angle gets underrated. A corrected, automated transcript doesn't just satisfy an accessibility checklist, it turns every recording into an indexable resource a student can search the way they'd search a textbook index. For language learners in particular, that means jumping straight back to the moment you explained a tricky verb conjugation instead of rewatching ten minutes to find it.
Tutoroo's community of tutors, spanning language instruction across dozens of languages, works largely from this same modular logic: short, focused sessions built around one outcome, recorded or live, that a student can revisit and build on. The principle holds whether you're teaching a recorded grammar point or running a live conversation session.
What educators get wrong about production quality
The biggest mistake in this space isn't a bad microphone. It's the assumption that more polish equals more learning. Educators who chase broadcast-quality lighting, elaborate intros, and long, comprehensive recordings usually produce content students finish once and never revisit, because a 40-minute lecture with no chapter breaks is a chore to search through later.
The conventional advice, buy better gear, edit more thoroughly, film longer sessions to cover more ground, gets the priority order backwards. Audio clarity and a tight learning outcome beat production value every time a student actually sits down to learn something. A rough-looking five-minute clip that nails one grammar point and ends in a clear action step will outperform a beautifully lit twenty-minute lecture that wanders across three topics.
If you're starting out, prioritise in this order: get your audio clean, define one outcome per clip, keep it under 12 minutes, then worry about lighting and background. Everything else, better cameras, slicker transitions, custom intros, is a nice-to-have you can add once the fundamentals are solid. Most educators do this backwards, and it costs them consistency more than it costs them quality.
— TUTOROO
Pairing your recorded lessons with live tutoring
Recorded lessons are excellent for teaching a concept once and letting students revisit it as often as they need. What they can't do is answer a question in the moment, correct a mispronounced word, or adapt on the fly when a student is stuck. That's where live tutoring fills the gap.
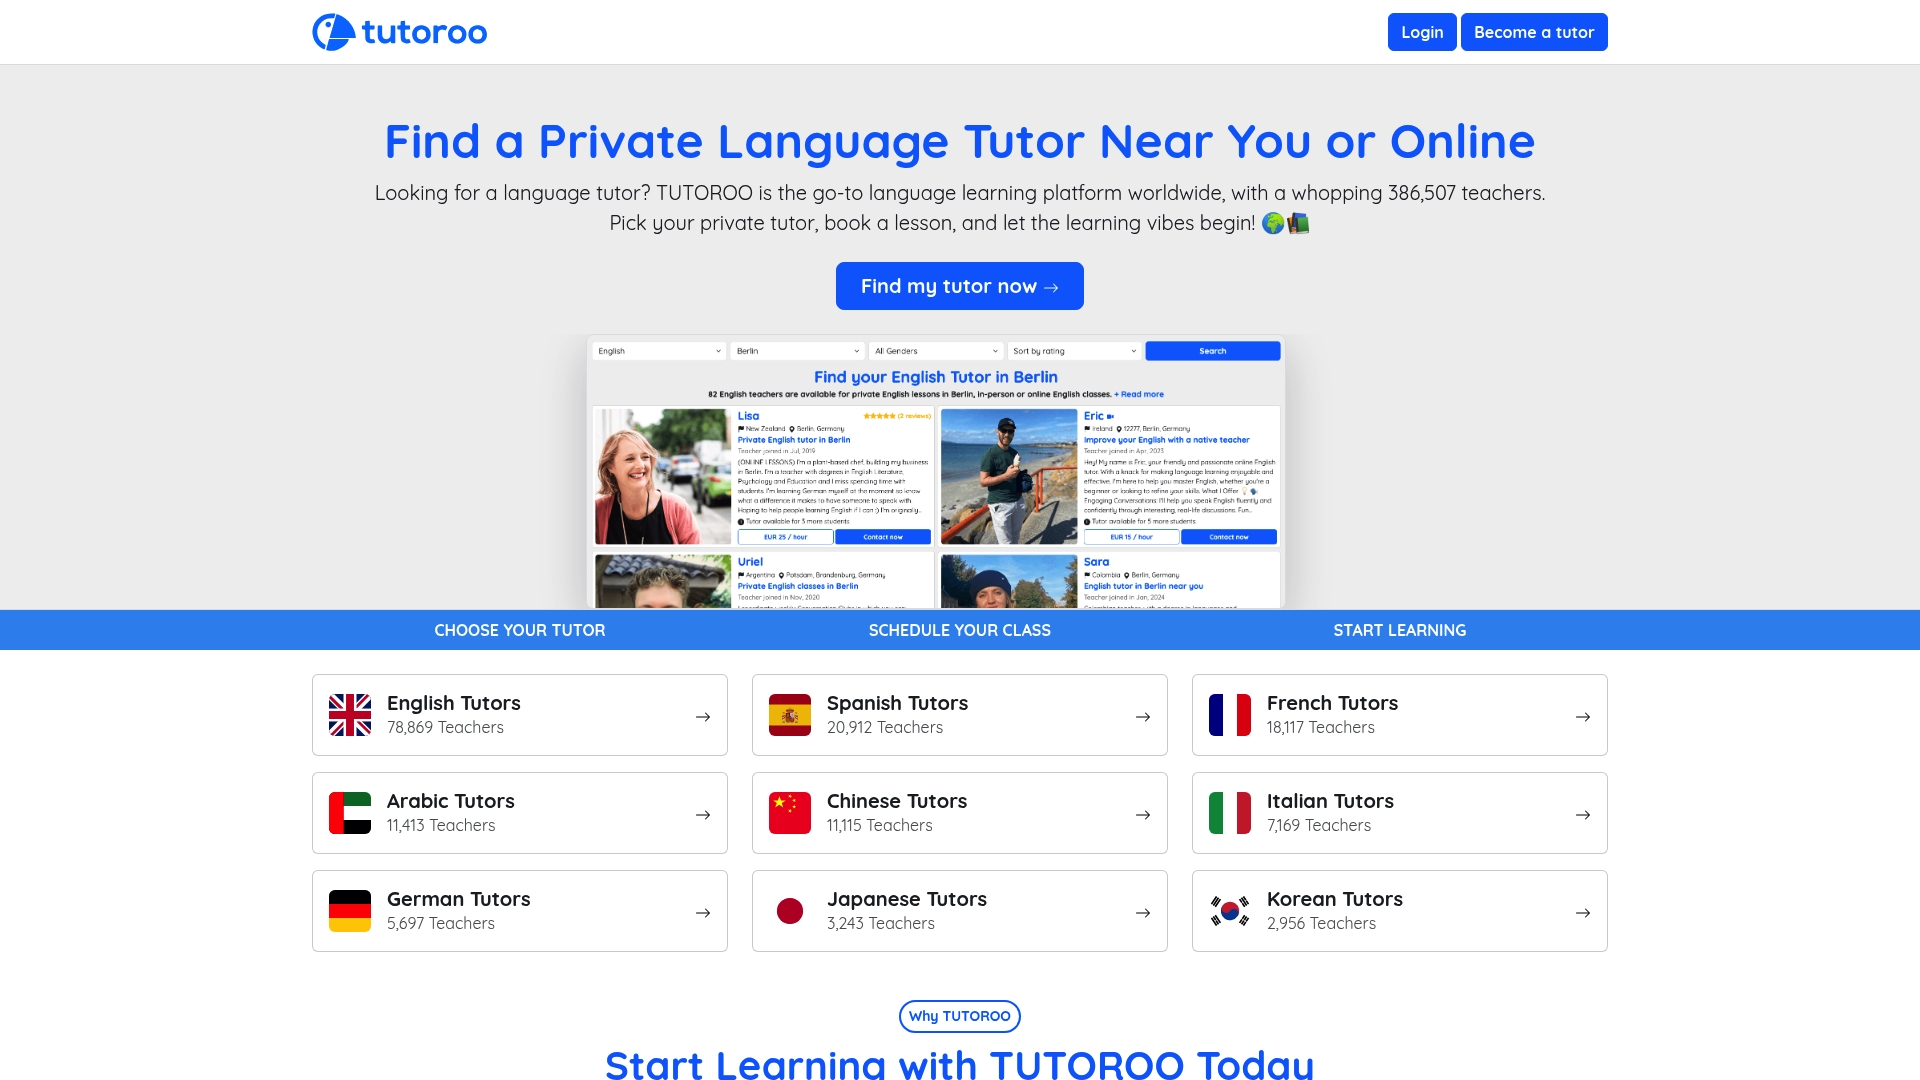
A digital platform connects students with private language tutors across many languages, for lessons delivered online or in person, so your recorded material becomes the foundation and live sessions become the practice ground. A student watches your talking-head clip on French irregular verbs, then books a live session to actually use them in conversation, with a tutor correcting mistakes as they happen. If you're an educator or tutor looking to reach more students, or a learner wanting to pair self-paced video with real conversation practice, setting up a profile on Tutoroo is the natural next step. Browsers looking for a specific language, English conversation practice included, can start directly from the English tutor listings and book a session this week.
Where to go for deeper reading
For the pedagogy behind lesson design, Ohio State University's best practices guide covers how to structure instructional video around a single learning goal. For the technical side of home recording setups, from microphone placement to wired internet, University of Colorado's IT guidance is a solid reference. For step-by-step tool workflows and settings, New Zenler's setup guide walks through the full process from beginner to more advanced capture. If you want a broader teaching-methods perspective beyond video specifically, this guide to teaching methods is worth a look.
Sources
- How to record online classes with screen recording software | StreamYard
- Best practices for recording instructional videos | Ohio State University
- Tips for recording lectures at home | University IT
- How to record an online course: beginner to pro setup guide | New Zenler